
# Follower PID Tuning
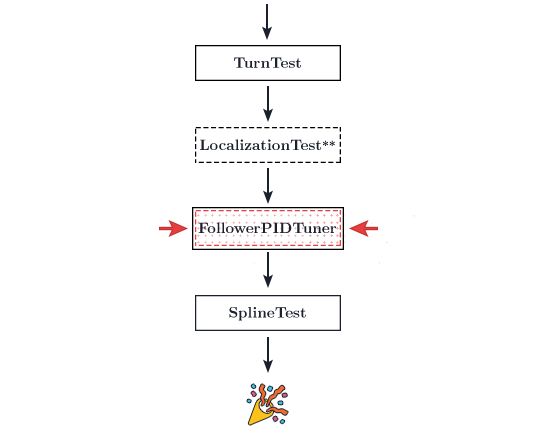
This is the last tuning step. Here, you will tune the closed loop feedback controller. This should improve your path following dramatically.
There are two alternative opmodes for this process, BackAndForth or FollowerPIDTuner.
It is recommended to run the BackAndForth opmode to get a set of coarse PID gains and then run the same process using FollowerPIDTuner for further fine tuning.
The BackAndForth opmode simply travels in a straight line back and forth. It is easy to see major errors in translation and heading PID accumulate here.
The FollowerPIDTuner will follow a large square. The bot will turn counterclockwise on each corner. If your heading is off, your entire square is destroyed and you have to keep resetting the bot. It's quite arduous. Use the BackAndForth opmode for initial tunings and then continue to further fine tune with FollowerPIDTuner.
Run the
BackAndForthopmode via the RC.Then, connect to the RC phone's wifi network. The password to the network is located in the
Program and Managemenu.Navigate to
192.168.49.1:8080/dashwith a phone RC or192.168.43.1:8080/dashwith a Control Hub.Ensure that you have the
Fieldview selected in the top right.You should see two lines and two circles being drawn: green for the target position and blue for your bot's actual position.
Look for the
SampleMecanumDrivein the right sidebar. Open that dropdown. You should be seeing two options:HEADING_PIDandTRANSLATION_PID. Both options are located in theSampleMecanumDrivefile.Open up
HEADING_PIDfirst. Just keep increasingkPuntil the robot starts to keep an accurate heading. This was around 8 in my experience, although your mileage may vary. You should not need to adjustkDandkI.Open up
TRANSLATION_PIDnext. Once again, keep increasingkPuntil the robot starts to adjust itself and follows the path. This was also around 8 in my experience, although your mileage may vary. You should not need to adjustkDandkI.Once that's tuned, you should be done! Remember that any changes in Dashboard must be reflected in the appropriate file. So, you should copy-paste your numbers into the PID object in
SampleMecanumDrive.java.Feel free to run the same tuning process with
FollowerPIDTuner. This is encouraged for further accuracy.You should be done! Go on to the
SplineTestto ensure that your following is accurate.Note: Earlier I mentioned that you should not need to use
kIorkDfor your follower PID's. Those are just basic guidelines.kDactually indirectly functions as a P Controller on pose velocity. Therefore, settingkDto a non-zero value (1 or something), IF you are using feedforward instead of velocity pid, may help keep your pose velocity constant across battery voltages. DO NOT setkDif you are using drive velocity PID as they will overlap and fight each other.
# Informal Video
This was originally meant to be temporary, but was never finished, so the quality is atrocious but hopefully it ends up helping 😃, it should explain well enough.